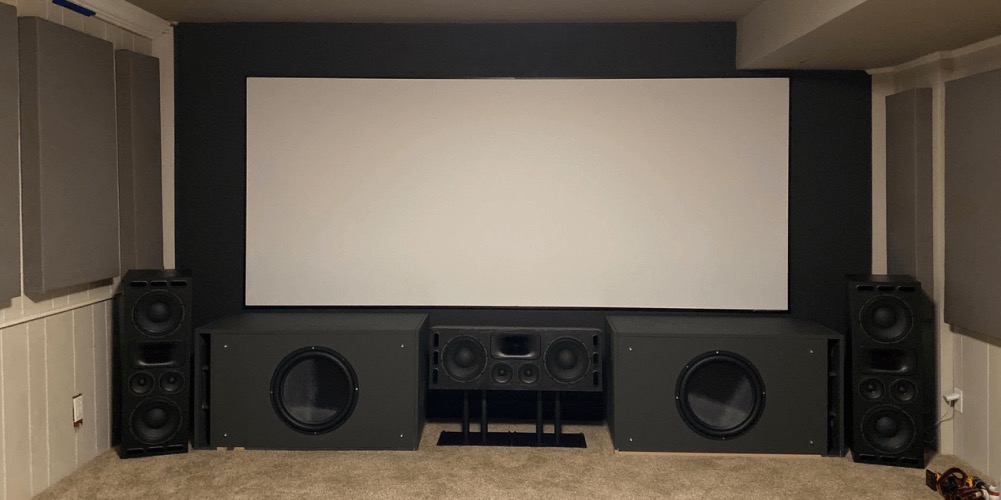
Many people opt to take advantage of do-it-yourself or DIY subwoofers to build a customized subwoofer. You can build a subwoofer for less money and better functionalities when you know the steps of assembling the gadget yourself.
Those who are new to creating their home speakers, starting with a subwoofer can be the perfect place for them.
Step by Step: How to assemble DIY subwoofers
Before you start assembling your subwoofer, ensure that you have experience working with the tools. The step-by-step process would not take more than an hour to complete the project.
Step 1: Have a Plan
Before you start assembling your sub, you should have a plan in place. You have to ensure that everything you need for the do-it-yourself building of a subwoofer is available. You should look at the kit properly to ensure that the tools you need are in it. Furthermore, you should read the instructions properly.
Step 2: Assembling the Parts
- Starting from the spiked feet is necessary to help you know the position of the sub’s bottom. That will help you build it without the challenge of struggling with the components. The bottom comes with holes for spikes. This information should be at the back of your mind while building your sub.
Some people install their amplifier module that contains inputs (right, LFE direct, and right), amp, a low-pas crossover, a phase switch, and a parametric equalizer.
- The AC power-cord connector, the power switch, and an LED power light are on the bottom of the amp plate.
- A thick rubber gasket covers the underside of the amp module. You do not require caulking for this process. When you have installed the module, screw it down with the head screws and tightens them to ensure it is sealed airtight in a star design.
Step 3: The Acoustic Form Installation
The next step is installing the Acoustic Form to the sub’s inner walls. You should make use of a spray adhesive to put the foam in place.
Step 4: Install the Driver
- The driver is the next component to be installed. Make sure that the mounting of the driver is easy. Flip the subwoofer on its back and shield its control knobs from the back panel when you rest them on the packing material.
- Pull the speaker wires through your cutout, strip, and cut the wires. You should ensure that the wires’ length is enough to link the driver outside the sub’s cabinet.
- The next thing to do is to attach the speaker wires to the terminal’s driver.
- The polarity must be maintained. Position the driver in your cutout and line up the mounting holes with the help of the cabinet’s threaded holes. A dust-cap logo should orient the process properly.
Step 5: Finish the assembly of DIY subwoofers
You have to ensure that the subwoofer’s controls are easily optimized for the performance of the setup. The sub’s variable low-pass crossover should have control to provide a perfect preamp’s output. The dial to control its crossover frequency, the parametric EQ, bandwidth, and an EQ level control are required to function to their maximum capacities.
